How to Make Your Stream Look Professional: An Advanced 2025 Guide
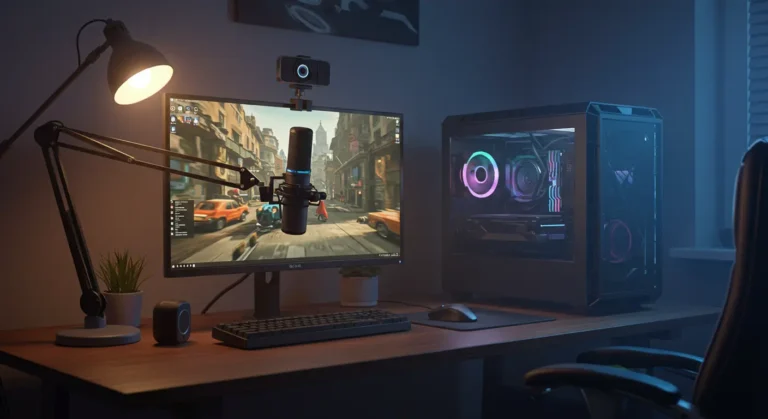
You’ve mastered the basics. You have a consistent schedule, you’re engaging with your chat, and you’re building the foundations of a community. But now you’re asking the question every growing streamer asks: “How do I take my stream to the next level?” The answer often lies in production value. In 2025, the gap between an amateur stream and a professional-looking broadcast is all in the details. This guide will walk you through the advanced, yet achievable, production techniques that will make your stream stand out, captivate your audience, and build your brand.
Step 1: Master Your Lighting – Beyond a Single Ring Light
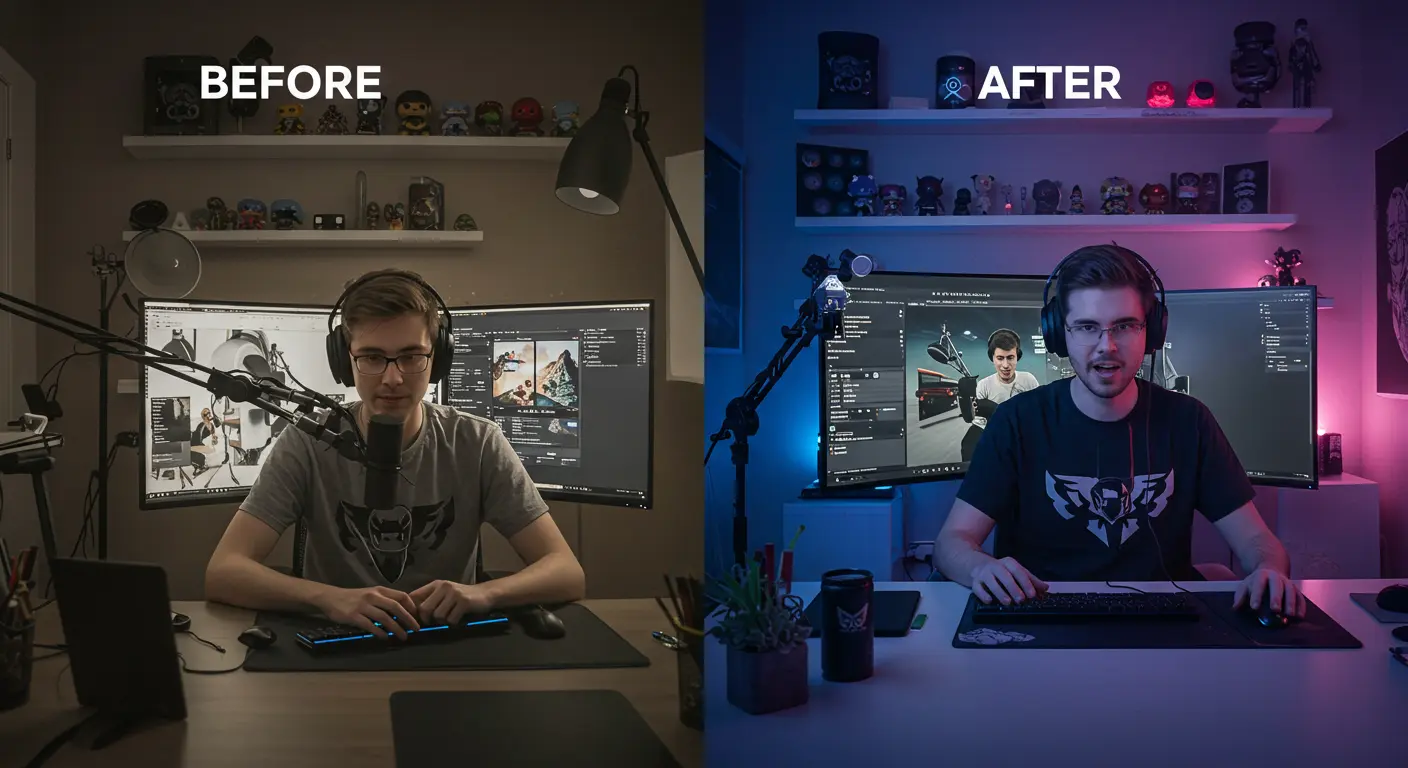
Good lighting is the single most effective way to elevate your camera quality from “webcam” to “broadcast.” The goal is soft, even light that eliminates harsh shadows and makes you look clear and professional.
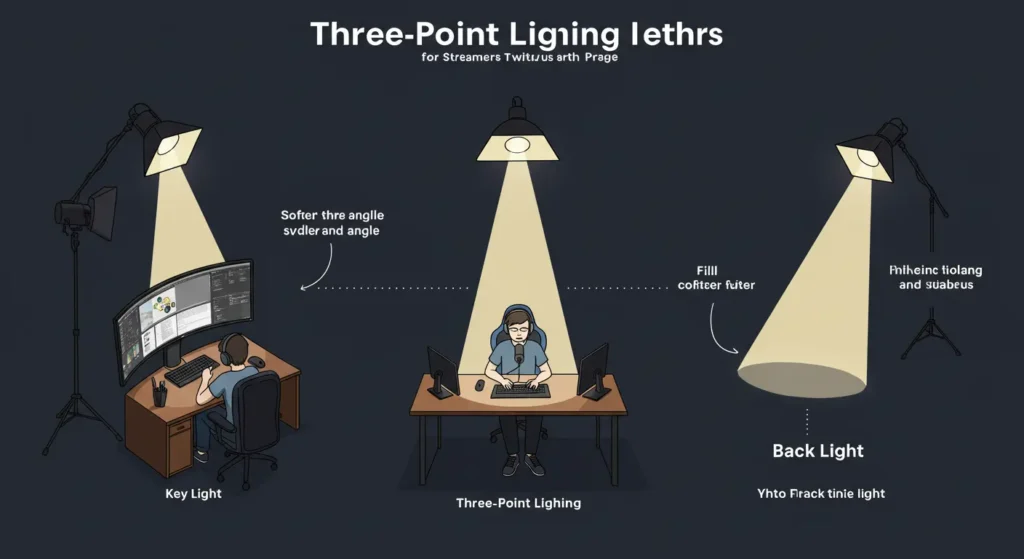
The Three-Point Lighting Setup
This is the classic industry standard for a reason.
- Key Light: This is your main, brightest light source, positioned about 45 degrees to one side of your face. Its job is to illuminate you.
- Fill Light: This is a softer, less intense light placed on the opposite side of your face. Its job is to “fill in” the shadows created by the key light, reducing contrast.
- Back Light (or Hair Light): This light is placed behind you, pointing at the back of your head and shoulders. It separates you from your background, creating a sense of depth and preventing you from looking like a flat cut-out.
Pro-Tip: You don’t need to buy three expensive lights at once. Start with a good key light (like an Elgato Key Light Air or a softbox), and you can use a simple desk lamp with a white sheet over it as a fill light.
Step 2: Crystal Clear Audio – The Pro-Sound Difference
You’ve upgraded from a headset mic to a USB mic. The next step is achieving that rich, broadcast-quality audio.
Graduating to an XLR Setup
While USB mics are great, an XLR microphone connected to an audio interface offers superior quality, control, and flexibility.
- XLR Microphone: Mics like the Shure SM7B or Rode Procaster are industry standards for their warm, rich vocal tone and excellent background noise rejection.
- Audio Interface: A device like the Focusrite Scarlett Solo or GoXLR Mini takes the analog signal from the XLR mic and converts it into a clean digital signal for your PC. It also gives you physical knobs for controlling volume and gain.
Using VST Plugins in OBS for Real-Time Processing
This is a game-changer. VST plugins are free audio effects you can add directly into OBS Studio to process your microphone audio in real-time. The essential trio:
- Noise Gate/Suppression: Automatically cuts out low-volume background noise (like PC fans or keyboard clicks) when you’re not speaking.
- Compressor: Evens out your audio levels, making your quiet moments louder and your loud moments less distorted. This means your viewers don’t have to constantly adjust their volume.
- EQ (Equalizer): Allows you to shape the tone of your voice, cutting out muddy low frequencies or adding clarity to the highs to make your voice sound richer and more professional.
Step 3: Advanced Visuals – Building a Cohesive Brand
A professional stream has a consistent and polished visual identity.
- Custom Overlays and Alerts: Move beyond the generic templates. Create or commission a unique set of overlays (for your webcam, gameplay, etc.), alert boxes (for new followers, subscribers), and screens (“Starting Soon,” “Be Right Back,” “Stream Ending”) that all share your brand’s colors, fonts, and logo.
- Stinger Transitions: Instead of a simple cut or fade between your scenes (e.g., from your “Just Chatting” scene to your “Gameplay” scene), use a “Stinger Transition.” This is a short, animated video with a transparent background that plays over the screen, creating a professional, TV-broadcast-like transition.
Step 4: Interactive Hardware – The Streamer’s Command Center
Advanced tools can streamline your workflow and increase interactivity.
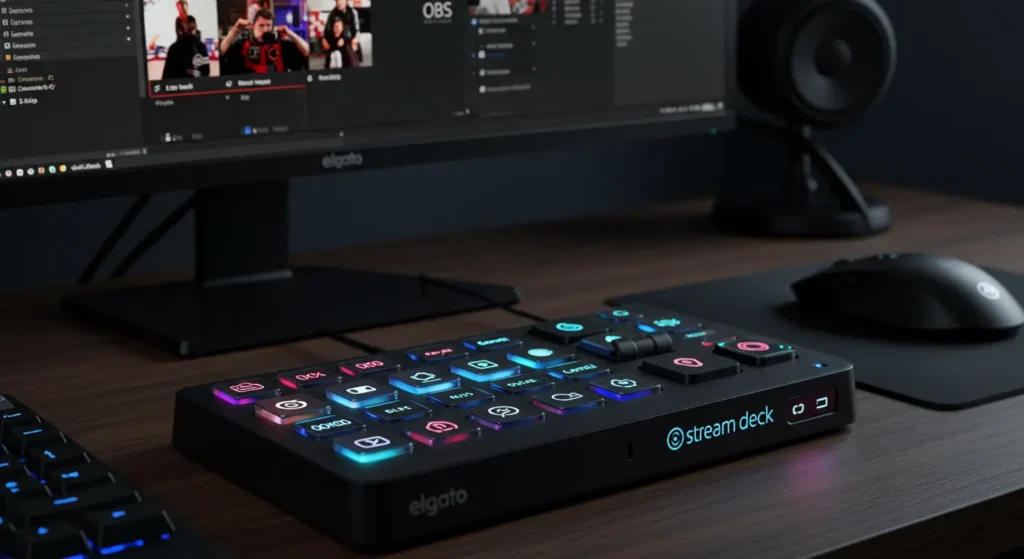
Unlocking Your Potential with a Stream Deck
A device like the Elgato Stream Deck is a customizable keypad with LCD buttons. It’s a streamer’s best friend. You can program buttons to instantly:
- Switch scenes in OBS.
- Trigger sound effects or memes.
- Mute your microphone.
- Post messages in your chat.
- Control your music, lighting, and so much more. It eliminates the need to alt-tab out of your game, allowing you to manage your entire broadcast with the press of a button.
Using a Green Screen (Chroma Key) Effectively
A green screen allows you to remove your real-world background and place your camera feed directly over your gameplay. For this to look professional, good lighting is absolutely essential. You need to light your green screen evenly and separately from yourself to avoid green spill or patchy keying. When done right, it creates a seamless, immersive look.
Frequently Asked Questions (FAQ)
- What is the most important piece of gear to upgrade first for production value?
- Without a doubt, your microphone and audio setup. Viewers are far more likely to tolerate average video quality than they are to tolerate bad, unclear, or distorted audio.
- Is a Stream Deck really worth it?
- For streamers who want to create a more dynamic and interactive broadcast without fumbling with keyboard shortcuts, yes. It fundamentally changes your workflow and allows for a much smoother, more professional production.
- Do I really need a green screen?
- No, it’s not essential. Many top streamers have fantastic-looking real-world backgrounds (e.g., a tidy room with cool collectible shelves and RGB lighting). A clean, well-lit real background is often better than a poorly lit, glitchy green screen effect.
Conclusion: Small Steps, Massive Impact
Achieving professional production value is not about spending a fortune overnight. It’s about making incremental, thoughtful upgrades to your setup. Start with mastering your lighting and audio, then create a cohesive visual brand, and finally, consider tools like a Stream Deck to streamline your workflow. Each improvement, no matter how small, contributes to a more polished, engaging, and professional broadcast that respects your viewers’ time and makes your channel a destination they’ll want to return to again and again.
Take Your Stream to the Next Level with SpiritGlitch.com!
From deep dives into the best streaming gear to advanced tutorials for OBS and community growth, SpiritGlitch.com is your resource for leveling up your content creation journey.