How to Optimize Your PC for Maximum Gaming Performance: A Guide
How to Optimize Your PC for Maximum Gaming Performance: A Guide
There is no greater frustration for a PC gamer than being pulled out of an immersive experience by a sudden frame drop, a jarring stutter, or persistent lag. You’ve invested in your hardware, but are you truly unlocking its full potential? Often, the difference between choppy gameplay and buttery-smooth performance lies not in buying new components, but in a series of smart software tweaks and essential maintenance. This ultimate guide for 2025 will walk you through the crucial steps to optimize your PC, reduce system overhead, and squeeze every last drop of performance out of your rig for a superior gaming experience.
Step 1: The Foundation – Essential System Housekeeping
Before you tweak any advanced settings, ensure your system’s foundation is solid. These are the non-negotiable first steps.
Update Your Graphics Drivers
This is the most critical step. Both NVIDIA and AMD regularly release new drivers that include performance optimizations, bug fixes, and specific enhancements for the latest games.
- NVIDIA: Use the GeForce Experience application to automatically check for and install the latest “Game Ready” drivers.
- AMD: Use the Radeon Software Adrenalin Edition to find and install the newest recommended drivers. Always perform a “Clean Installation” if the option is available to remove old driver files and prevent potential conflicts.
Keep Windows and Your BIOS Updated
Ensure your operating system is up to date by running Windows Update. These updates often include performance improvements and security patches. Less frequently, your motherboard’s BIOS/UEFI may have updates that can improve system stability and memory compatibility. Check your motherboard manufacturer’s support page for this, but proceed with caution and follow instructions exactly, as a failed BIOS update can be problematic.
Clean Up Your Storage Drive
A full or fragmented drive can slow down game loading times and even impact performance.
- For HDDs (Hard Disk Drives): Run the built-in Windows “Defragment and Optimize Drives” tool regularly.
- For SSDs (Solid-State Drives): The same tool will run the TRIM command instead of defragmenting, which is essential for maintaining SSD speed. Also, ensure your SSD is never more than 85-90% full, as performance can degrade significantly when it’s nearly full.
Step 2: Tweaking Windows for Peak Gaming Performance
Windows is a general-purpose operating system. With a few tweaks, you can make it prioritize your gaming sessions.
Enable Game Mode
A simple but effective feature. When active, Windows prioritizes system resources for your game, preventing background tasks from stealing CPU cycles and improving frame rate consistency. You can find it in Windows Settings > Gaming > Game Mode.
Disable Unnecessary Startup Programs
Many programs launch automatically when you start your PC and run in the background, consuming valuable RAM and CPU resources. Press Ctrl + Shift + Esc to open the Task Manager, go to the “Startup” tab, and disable any non-essential applications from launching on startup (e.g., updaters, launchers you’re not using).
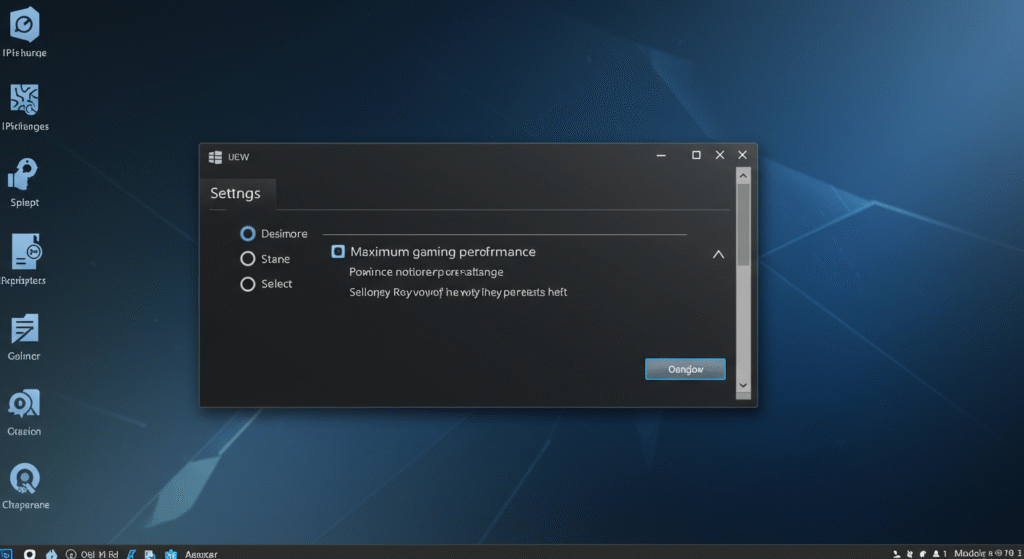
Adjust Your Power Plan
By default, Windows uses a “Balanced” power plan. For gaming, you want maximum power.
- Go to Control Panel > Hardware and Sound > Power Options.
- Select the “High Performance” or “Ultimate Performance” plan. This ensures your CPU is always running at its full potential during gameplay.
Step 3: Unleashing Your GPU’s Full Power
Your graphics card’s control panel is a powerful tool for optimizing performance.
Optimizing the NVIDIA Control Panel
Right-click your desktop and open the NVIDIA Control Panel. Under “Manage 3D settings,” make these key changes:
- Power Management Mode: Set to “Prefer maximum performance.”
- Low Latency Mode: Set to “On” or “Ultra” to reduce input lag.
- Texture Filtering – Quality: Set to “High Performance.”
Optimizing AMD Radeon Software
For AMD users, open the Radeon Software. Under the “Gaming” tab, you can create profiles for specific games or adjust global settings like:
- Radeon Anti-Lag: Enable this to reduce input lag.
- Radeon Boost: Can dynamically lower resolution during fast motion to increase FPS.
- Image Sharpening: Can improve visual clarity, sometimes allowing you to lower other settings without a noticeable drop in quality.
Step 4: In-Game Settings – The Critical Balancing Act

This is where you’ll make the biggest trade-offs between visual quality and frames per second (FPS). Every game is different, but here are some general rules for settings that have the biggest performance impact:
- Shadow Quality: Often the biggest performance hog. Lowering shadows from “Ultra” to “High” or “Medium” can grant a massive FPS boost with minimal visual loss.
- Anti-Aliasing (AA): Smooths out jagged edges. High levels of AA (like MSAA 8x) can be very demanding. Consider using more efficient methods like FXAA, SMAA, or TAA, or simply lowering the setting.
- Texture Quality: This is more dependent on your GPU’s VRAM. If you have plenty of VRAM (e.g., 8GB+), you can usually keep textures on “High” or “Ultra” without a major performance hit.
- Resolution: Running at your monitor’s native resolution is ideal. If you’re struggling for FPS, consider using in-game resolution scaling or technologies like NVIDIA DLSS or AMD FSR, which render the game at a lower resolution and use AI to intelligently upscale it, providing a huge performance boost.
Frequently Asked Questions (FAQ)
- Does closing background apps like Discord or Chrome really help?
- Yes, especially if you have limited RAM (e.g., 16GB or less). Web browsers like Chrome can be particularly memory-intensive. Closing non-essential applications frees up system resources that your game can use instead.
- What is overclocking and should I do it?
- Overclocking is the process of manually increasing the clock speed of your components (CPU, GPU) beyond their factory settings to extract more performance. While it can provide a noticeable FPS boost, it also generates more heat and, if done incorrectly, can cause system instability or even damage your hardware. It is an advanced technique recommended only for experienced users who understand the risks.
- How often should I physically clean my PC?
- At least every 6-12 months. Dust buildup inside your PC case can clog fans and heatsinks, causing components to overheat and throttle (reduce their performance to prevent damage). A simple cleaning with compressed air can significantly improve thermal performance.
Conclusion: Your Game, Your Performance
Optimizing your PC for gaming is a continuous process, but one that yields tangible rewards. By implementing these foundational, OS-level, and in-game tweaks, you are taking control of your hardware and ensuring it operates at its peak potential. You don’t always need the latest and greatest components to have a fantastic, smooth gaming experience. Sometimes, all it takes is a little bit of tuning to transform frustrating stutters into flawless victories.
Get More Tech Guides at SpiritGlitch.com!
From building your first PC to advanced overclocking and hardware reviews, SpiritGlitch.com is your definitive source for all things gaming tech. Check out our other guides to unlock your system’s full power!